MEP User Guide
Adding and Testing Keywords
Adding a keyword
To add a keyword to a routing code:
- Click the Routing tab.
- Click the
 icon by the routing Name to open up the keyword options.
 -
Click Add Keyword.
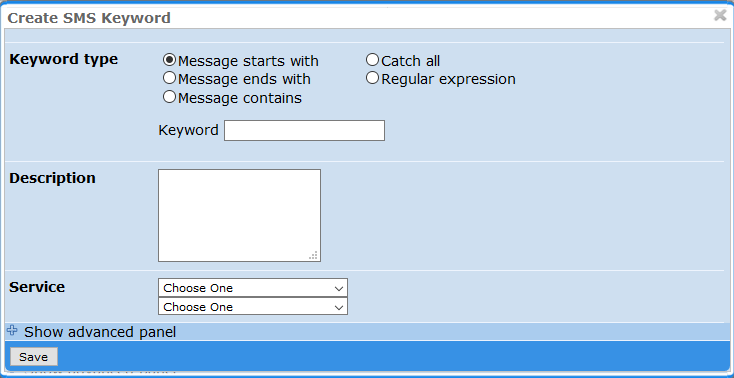
The Create SMS Keyword dialog box appears.
-
Select the Keyword Type you'd like to create. For example, this might be Message starts with.
Important: Do not add any spaces any spaces at the beginning or end of the keyword, otherwise your end users will need to include these spaces for the routing to work correctly.
- Enter an optional Description.
- From the Service drop-down lists, select the service category and service.
- Optionally click Show Advanced Panel and optionally select a specific Network and to set the keyword Priority. Keywords set higher in priority will be matched against before keywords lower in priority.
-
Click Save.
Messages that match the keyword will now route to the selected service.
Testing a keyword
To test a keyword:
- Click the Routing tab.
- Under Test SMS Keyword, select the routing code you would like to test.
- In the Message field, enter the keyword that you wish to test, and then click Test.
On the next screen, look for the Matched Keyword. This will identify the keyword the message was routed through. If the message didn't match a specific keyword but you have a "catchall" keyword configured, then the page will show the details for the catchall (but the Matched Keyword field will be blank). Otherwise, if the message did not match a keyword, then there will be no Matched Keyword field.